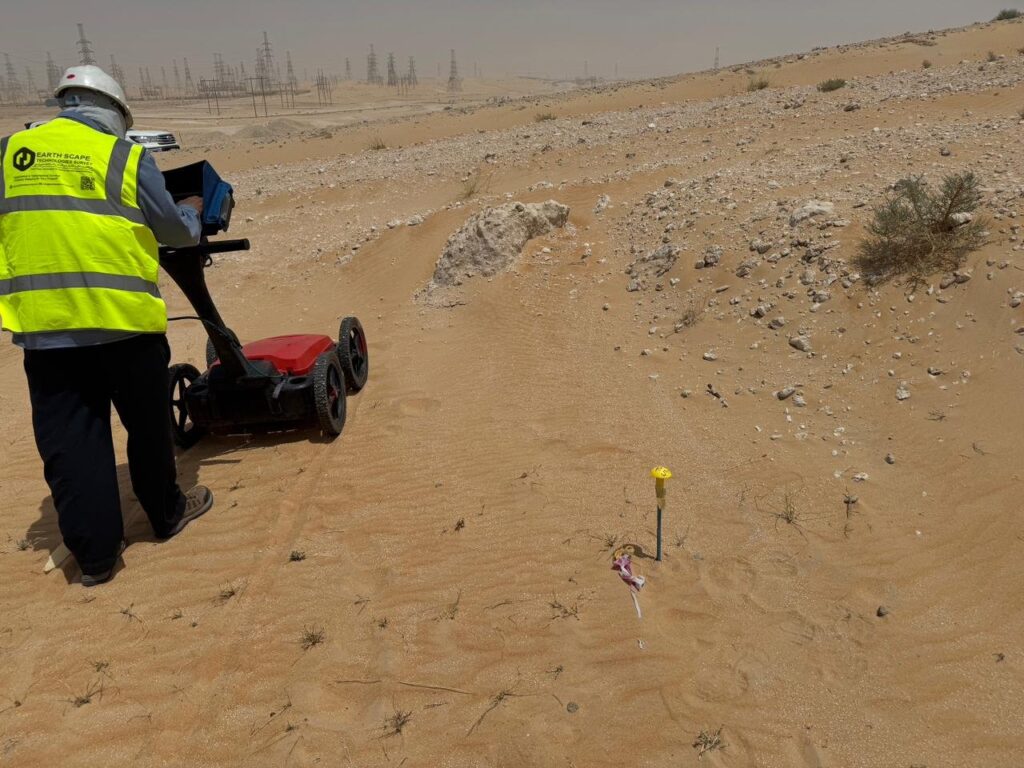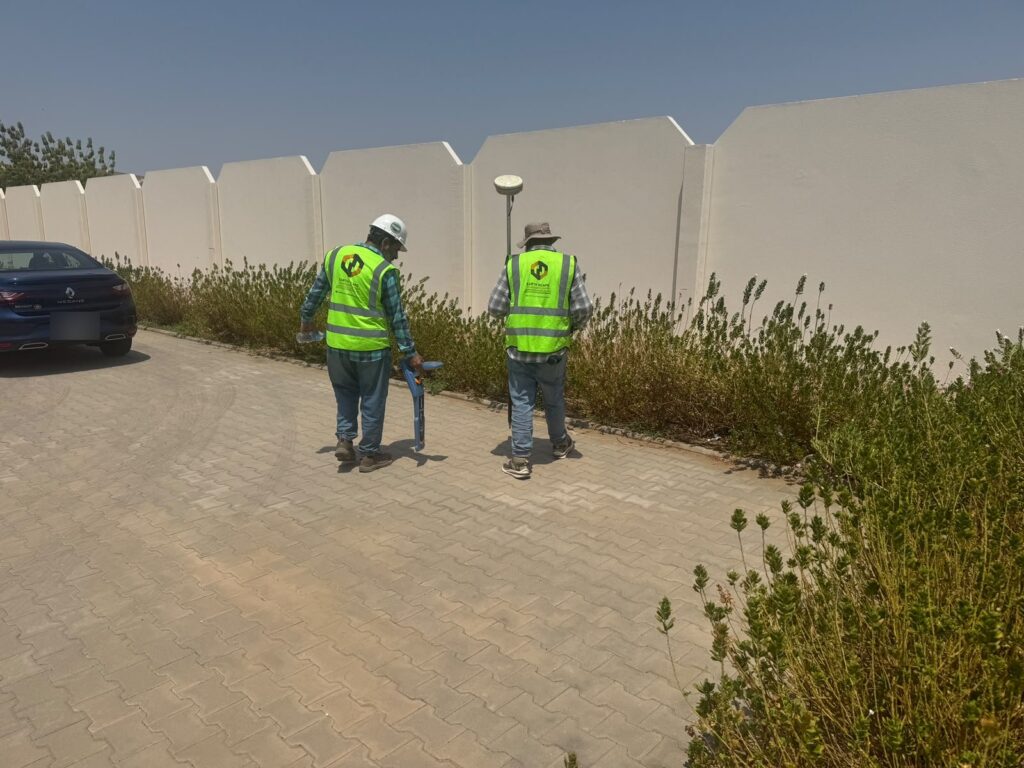
On almost every utility job, there is a moment when someone on site points at the marks on the ground and asks, “Fine, the scanner says there is something here. But what is it, and how deep?” The GPR survey can’t answer that with full certainty. A trial pit can. That’s why we still dig them, even on sites we have scanned end to end.
This post explains how trial pits are used to verify underground utilities, how we plan and dig them safely, and what a good trial pit record should contain. If you are a contractor or consultant about to break ground in Saudi Arabia, it should help you ask the right questions before the excavator turns up.
What a trial pit actually tells you
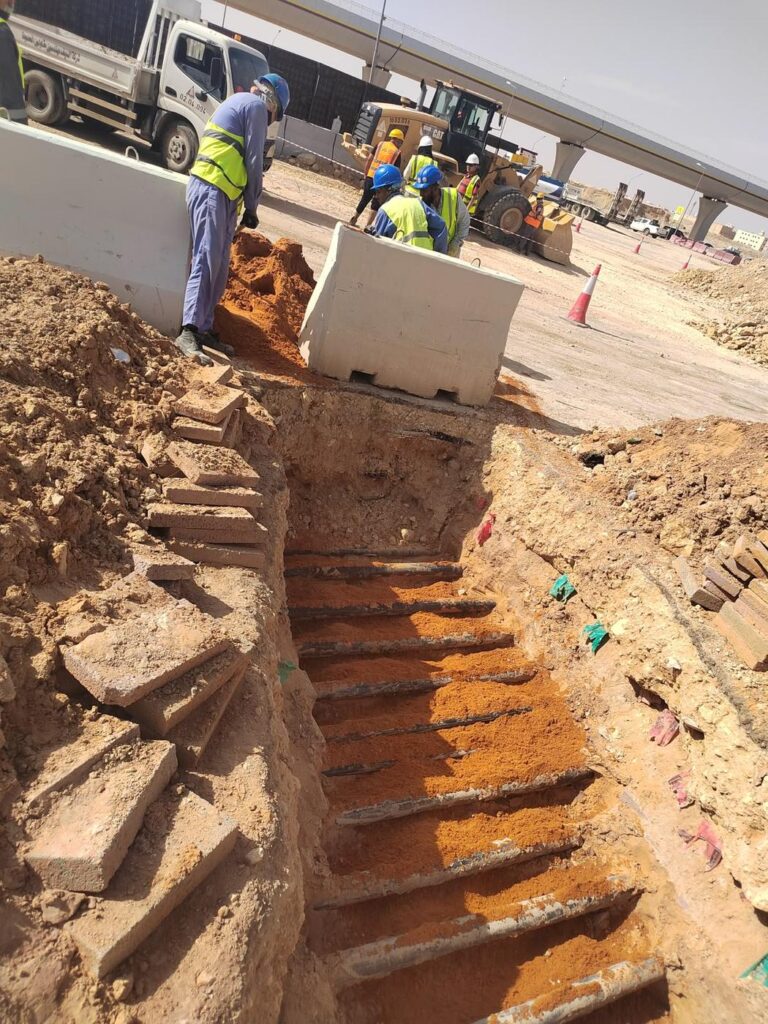
A trial pit is a small, carefully dug excavation made to expose a buried service so it can be seen, measured and photographed. Detection methods like GPR and electromagnetic cable locating tell you where something probably is. The pit tells you what is really there:
- the type of service (power, telecom, water, sewer, gas, irrigation, fibre)
- its size, material and number of ducts or cables
- the true depth to the top of the service, measured, not estimated
- its direction of travel and exact position, surveyed with GNSS or total station
- its condition, and whether it is protected by tiles, tape or a concrete surround
In PAS 128 terms, this is what turns a detected service (QL-B) into a verified one (QL-A). For design teams working around critical services, that difference matters.
Before anyone picks up a shovel
Most of the work on a good trial pit happens before digging starts. Our usual sequence is:
- Collect the records. Utility drawings from the authorities and the client, old as-builts, and anything the site team knows. Records in Saudi Arabia are often incomplete or out of date, but they still give useful clues.
- Scan the area first. A GPR and cable locator sweep shows where services are likely to be, so the pits can be placed on purpose instead of by guesswork.
- Agree the pit locations. We mark each proposed pit on the drawing and on the ground, and agree them with the client before work starts.
- Sort out permits. Municipality excavation permits for public roads, work permits on plant and Aramco sites, and traffic management where the pit is on a live road. These can take longer than the digging itself, so they need to be started early.
- Brief the crew. Everyone on the pit knows what services are expected, where the nearest live cables are, and what to do if something unexpected turns up.
How we dig
A trial pit is not a normal excavation. The whole point is to find services without damaging them, so the method is slow on purpose.
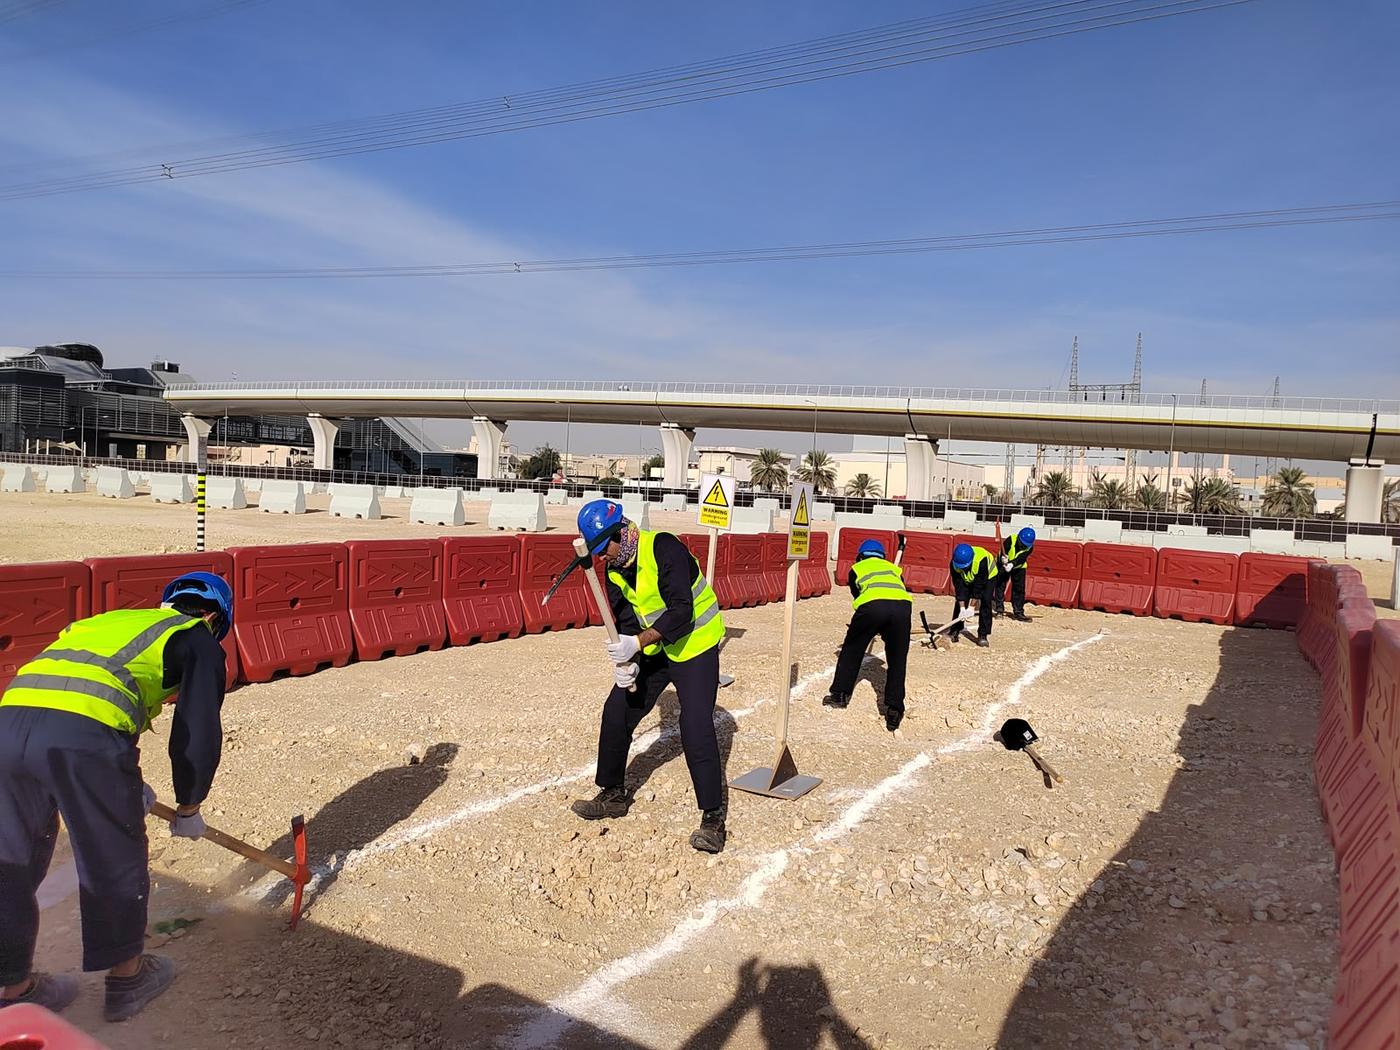
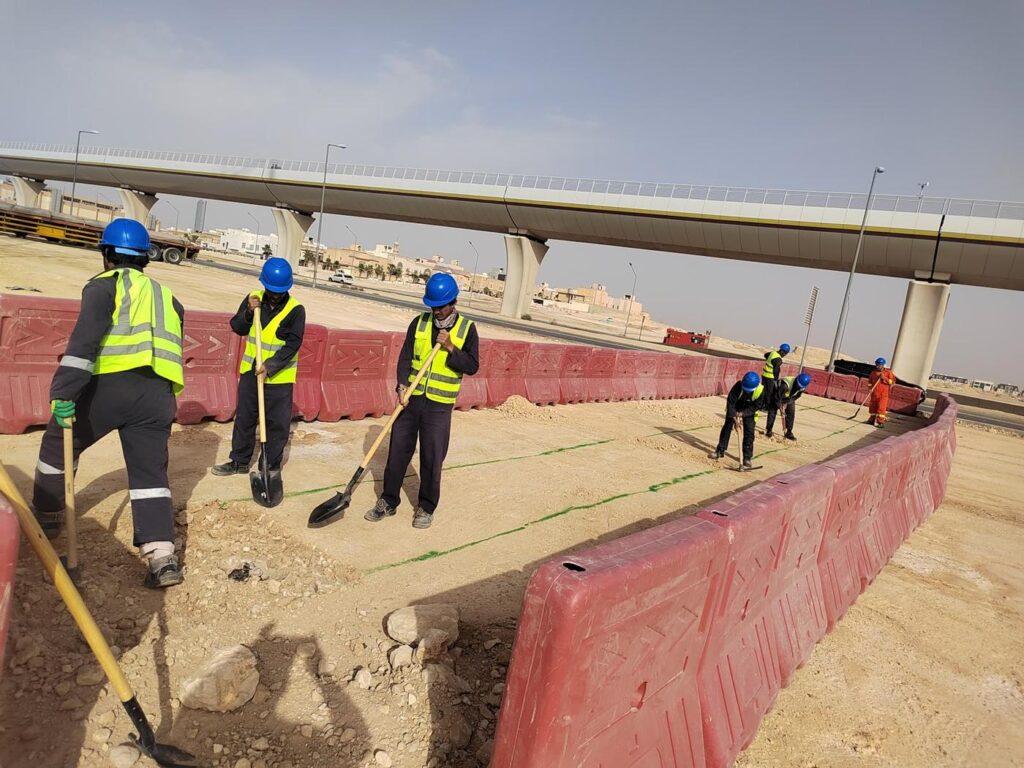
Around located services we hand dig, or use vacuum excavation where it is available and the ground allows it. Machines may be used to break out asphalt or concrete at the surface, but once we are into the ground the bucket stays out. Hand tools are insulated, and the crew stops every few hundred millimetres to re-scan the base of the pit with the cable locator. It is a simple habit, but it is the one that prevents most strikes.
A typical pit is about 1.0 m by 1.0 m, opened to a depth that clears the expected services, often 1.2 to 1.5 m. On roads we often dig a short trial trench across the expected alignment instead of a square pit, so that every service crossing that line is caught. Deeper excavations need proper support or battering back, and they are always barricaded when left open.
What gets recorded at every pit
A trial pit that isn’t properly recorded is just a hole. Once it is backfilled the information is gone, so the record has to be complete while the services are exposed. For each pit we record:
- pit number, date and coordinates, plus the surface level
- pit dimensions and the surface type (asphalt, paving, sand, concrete)
- for each service: type, size, material, number of ducts or cables, and owner if it is marked
- depth to the top of each service, measured from the surface
- direction of the service and the position of both edges, surveyed in
- protection found (warning tape, tiles, concrete surround, sand bed)
- photos of each service with a measuring staff or tape in the frame
- a simple plan and section sketch
- anything unusual: abandoned ducts, water, voids, or services with no records
All of this goes into a trial pit report and is used to update the utility drawing, so the final CAD file shows which services were verified and which are still based on detection only.
Where to put the pits
Trial pits are expensive compared with scanning, so they should be used where they give the most value. In our experience the best places are:
- where new works cross existing critical services, such as HV cables, gas lines and large water mains
- where the GPR result is unclear, for example several services bunched together or a weak signal in clay or wet ground
- where records and the survey disagree
- at proposed connection and tie-in points
- close to planned piles, foundations and deep excavations
We wrote more about combining the two methods in Trial Pits vs GPR: Why the Safest Projects Use Both.
Problems we come across on site
Every site is different, but a few things come up again and again:
- Services deeper or shallower than the drawings say. Road levels change over the years, and so does the cover over old services.
- Concrete surrounds. Cables encased in concrete look like a solid slab on GPR, and breaking them out needs care and the owner’s approval.
- Abandoned services. Old ducts and pipes are often still in the ground. The pit helps confirm whether they are dead, but we always treat them as live until the owner confirms otherwise.
- Groundwater. In coastal and sabkha areas around Jeddah, Dammam and Al Khobar, water can appear at shallow depth and the pit needs pumping.
- Hard ground. Cemented sand and rock slow hand digging down a lot, which needs to be considered when planning the programme.
Backfill and reinstatement
Once the record is complete, the services are protected and the pit is backfilled in layers, with warning tape put back above the services. The surface is then reinstated to match what was there: compacted sand, paving, or temporary or permanent asphalt on roads. On public roads the reinstatement standard is usually set by the municipality permit.
Frequently asked questions
How long does one trial pit take?
In normal sandy ground, a hand-dug pit of around 1.2 m deep is usually opened, recorded and backfilled in 3 to 4 hours. Hard ground, concrete, deep services and road permits all add time.
How deep should a trial pit go?
Deep enough to clear the services you need to verify. That is often 1.2 to 1.5 m for typical road services, but deeper for large mains or when the scan suggests deeper targets.
If we dig trial pits, do we still need a GPR survey?
Yes. A pit only shows what is inside it. The survey covers the whole area and tells you where the pits should go, so you need far fewer of them.
Planning trial pits on your project?
EarthScape carries out GPR surveys, cable locating and trial pit verification across Saudi Arabia, with crews based in Riyadh and the Eastern Province. Send us your site layout and the area you want verified through our Get a Quote page, and we’ll suggest pit locations and a programme.